Payer enrollment
Enrollment is how a payer agrees to exchange electronic transactions with your practice — claims going out, and electronic remittance advice (ERAs) coming back. Without enrollment you can still bill many payers, but enrolling gets you electronic status updates and payment reports instead of paper EOBs and portal-hopping.
In this guide, we'll cover:
- Enrolling with a payer
- Completing enrollment tasks
- When an enrollment is rejected
- Payers not in the directory
Enrolling with a payer
- Go to Settings → Payer Enrollment and click Search available payers.
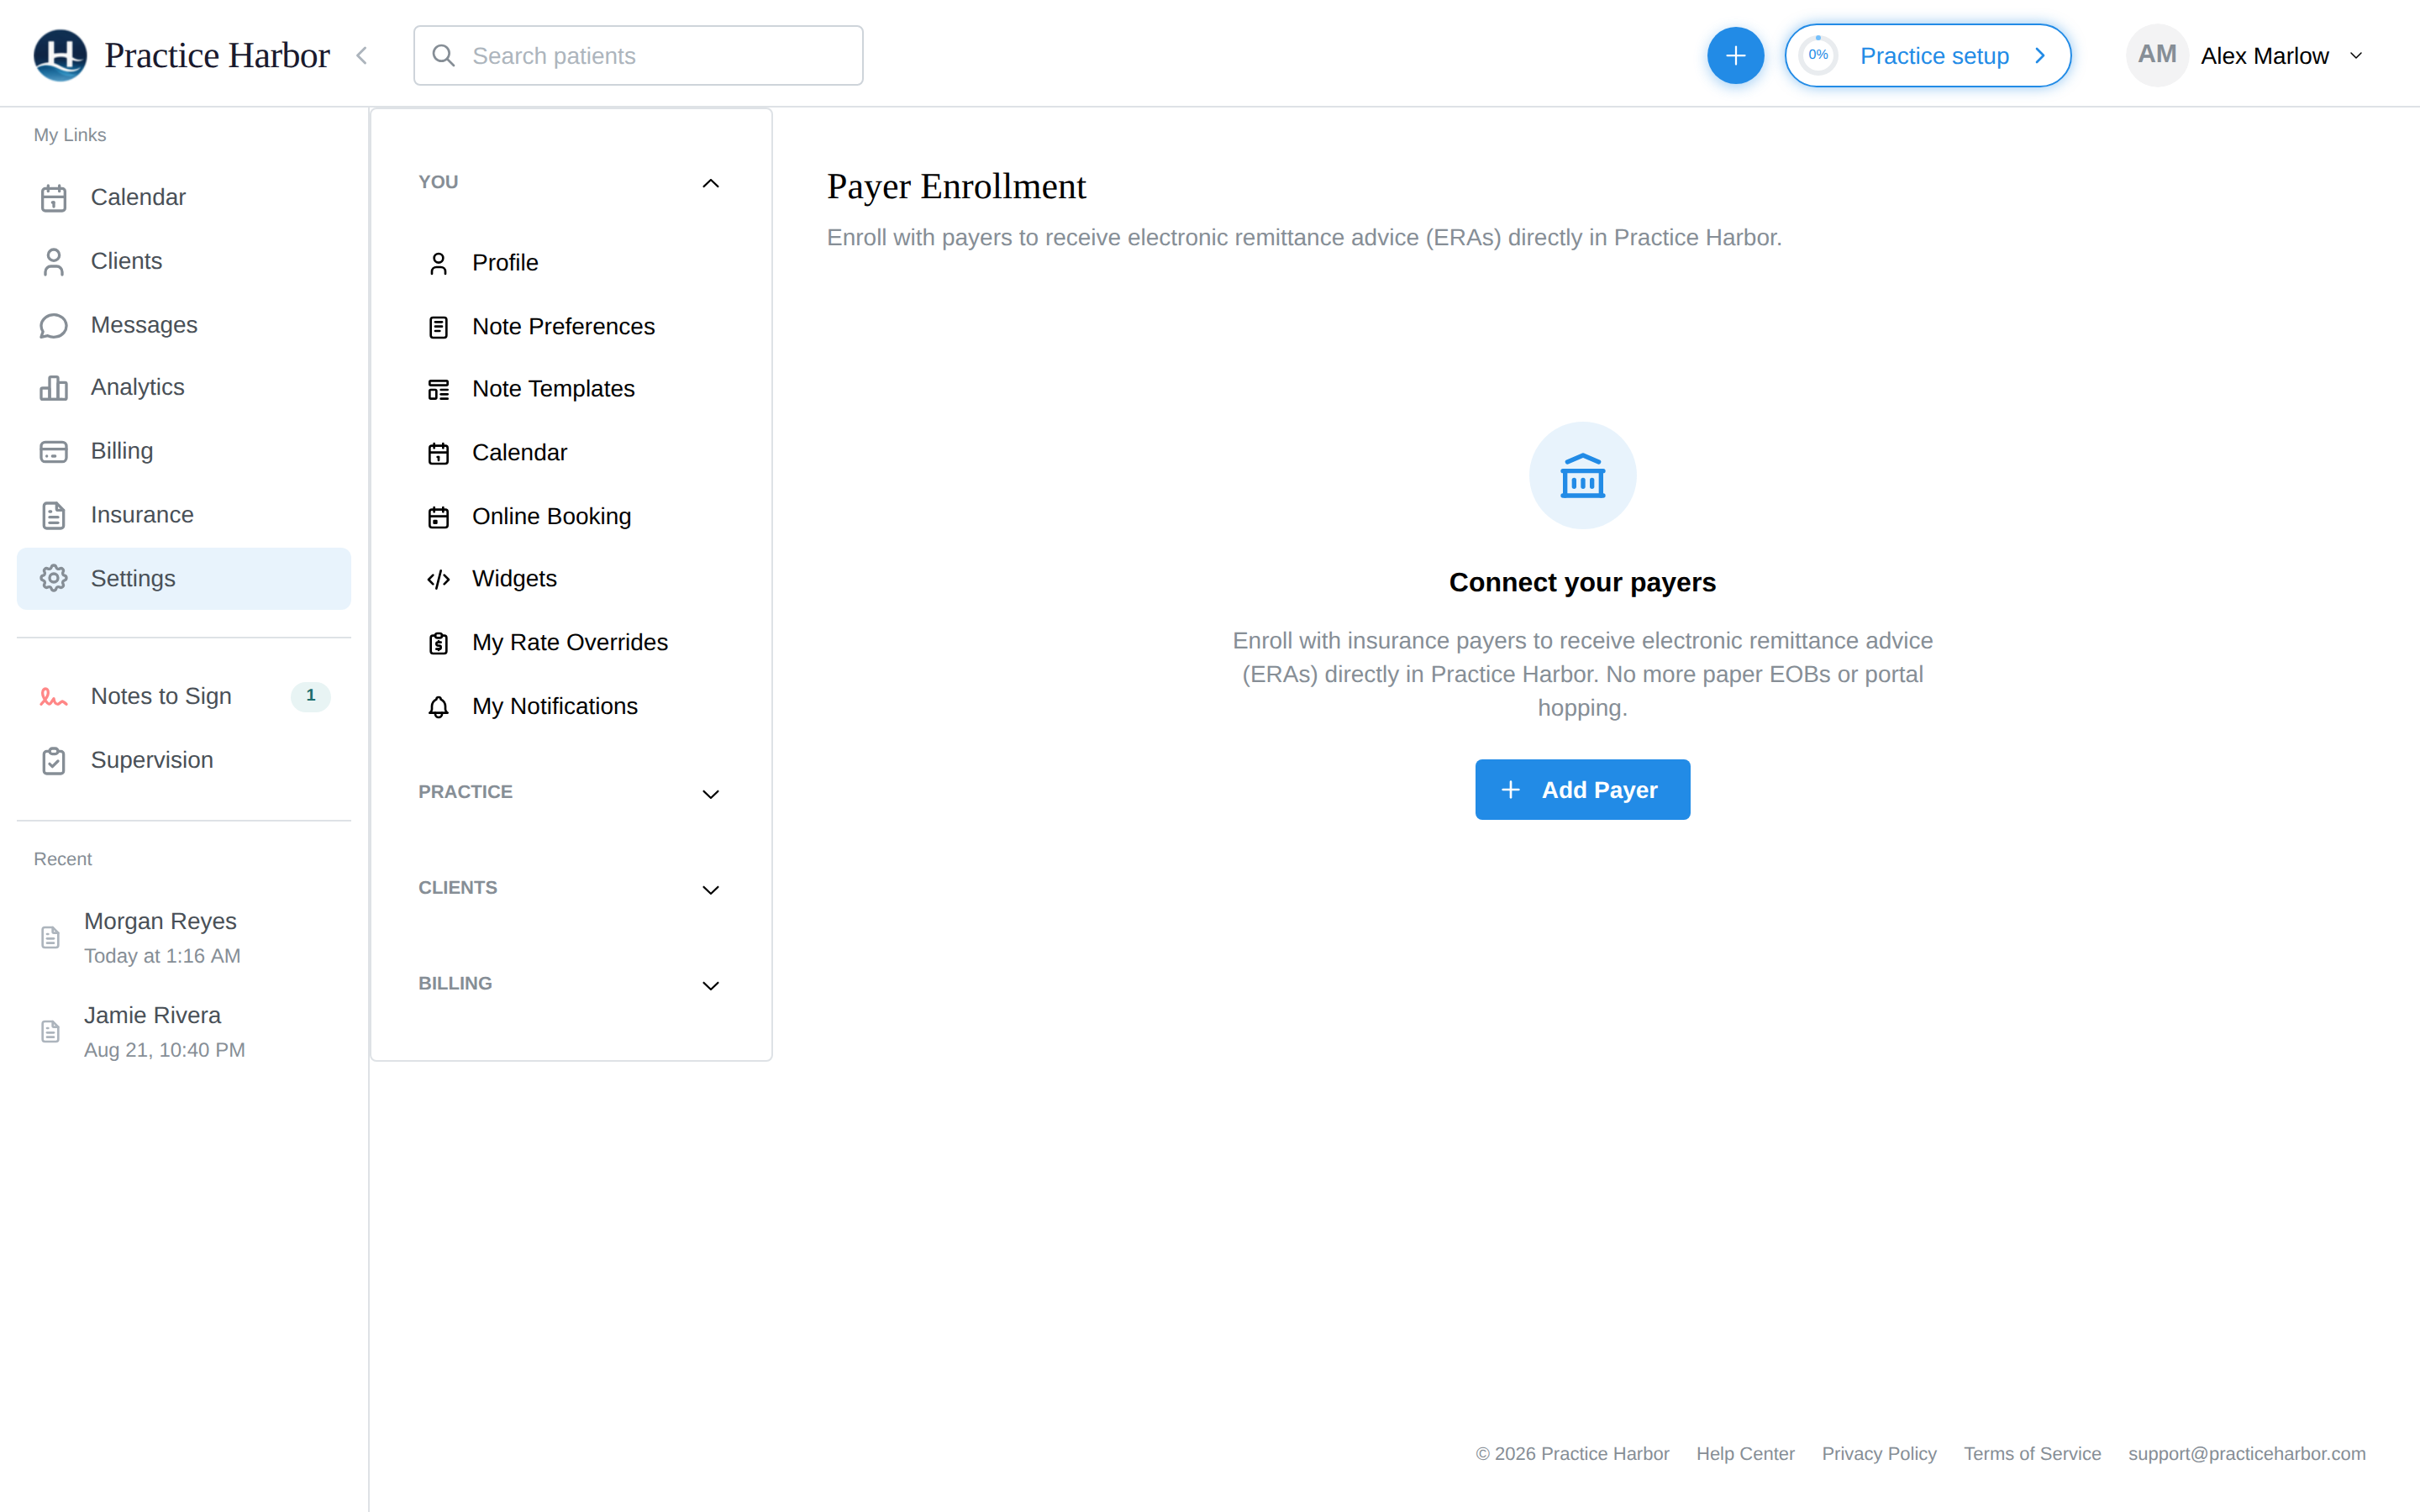
- Find your payer ("Type to search from over 3,400 payers in the network") and select it.
- Check for missing details — the wizard confirms your Tax ID (EIN or SSN), which NPI to enroll with ("Individual (Type 1)" or "Organization (Type 2)" — "Use the NPI you have on file with this payer"), contact info, and billing address. Anything you fix here saves back to your practice settings.
- Read what the enrollment does — once the payer accepts it, remittances post to the matching sessions automatically. Worth knowing: "ERAs don't move money. You'll still receive payments through your existing direct deposit setup." Click Continue.
- Confirm enrollment — review, e-sign, and click Enroll. The paperwork is filed for you.
Each payer row then shows two things, because a payer can require a separate enrollment for each:
- Claim filing — whether this payer needs an enrollment before you can send claims electronically. Most commercial payers say No enrollment required; Medicaid plans often need one, and then this shows its status.
- Payment report — the status of your remittance (ERA) enrollment. Accepted is the goal.
Both use the same words: Draft, Submitted, Pending, Action required, Accepted, Rejected, Canceled, or Manual (manually-added payers). You can filter the list by status, and the refresh icon on a row re-checks the payer's current status on demand.
Remittances always post automatically once a Payment report enrollment is accepted — there is no setting to turn that off. You can still record any payment by hand.
Completing enrollment tasks
Some payers (especially Medicaid plans) ask for extra information mid-enrollment — for example, your state Medicaid Provider ID. When that happens the enrollment shows Action Required, and opening its details reveals the task with the payer's instructions:
- Information tasks can be completed right there: fill in the requested field(s) and click Submit & complete task. The enrollment resumes automatically — no email or phone call needed. Answers like your Medicaid Provider ID are saved to your practice, so you won't be asked twice.
- Document tasks (a form to sign and upload) aren't self-serve yet — contact support and we'll complete them with you.
When an enrollment is rejected
Rejections almost always come down to identifier mismatches — the NPI or Tax ID on the enrollment doesn't match what the payer has on file from your credentialing. To fix:
- Click the enrollment to open its details — the rejection reason and any pending tasks are listed, alongside an NPI / Tax ID verification grid showing exactly which identifier mismatched
- Correct the details (your Profile / Practice identifiers, or a payer-specific billing profile override)
- Click Resubmit Enrollment — the wizard replays with your corrected details
If the payer says you're not credentialed at all, that's a contract issue to resolve directly with the payer — enrollment here can only succeed after the payer knows who you are.
Payers not in the directory
If a payer isn't in the searchable directory, add it manually from the same page. Manual payers work for claims and superbills; you can also request an electronic connection so it can be enrolled properly later.