Your practice website
Your practice can publish a simple, professional website at the same address clients already use for the portal — your practice pages and the Client Portal, Request Appointment and Send a Message buttons, all in one place, with nothing to host anywhere else.
In this guide, we'll cover:
- Building your site
- Start from a layout
- Photos
- The sections you can add
- The buttons on your site
- Previewing and publishing
- FAQ
Building your site
- Go to Settings → Website.
- Work through the cards top to bottom — practice basics (with switches like Accepting new clients, Insurance accepted, Telehealth available, and Hide street address if you don't see clients at a public location), your About text, team bios (photo, name, pronouns, credentials, a short bio), and any extra sections.
- Click Save changes at the bottom as you go. Saving stores your changes without publishing them — nothing is visible to clients until you publish. Discard changes reloads the last saved version.
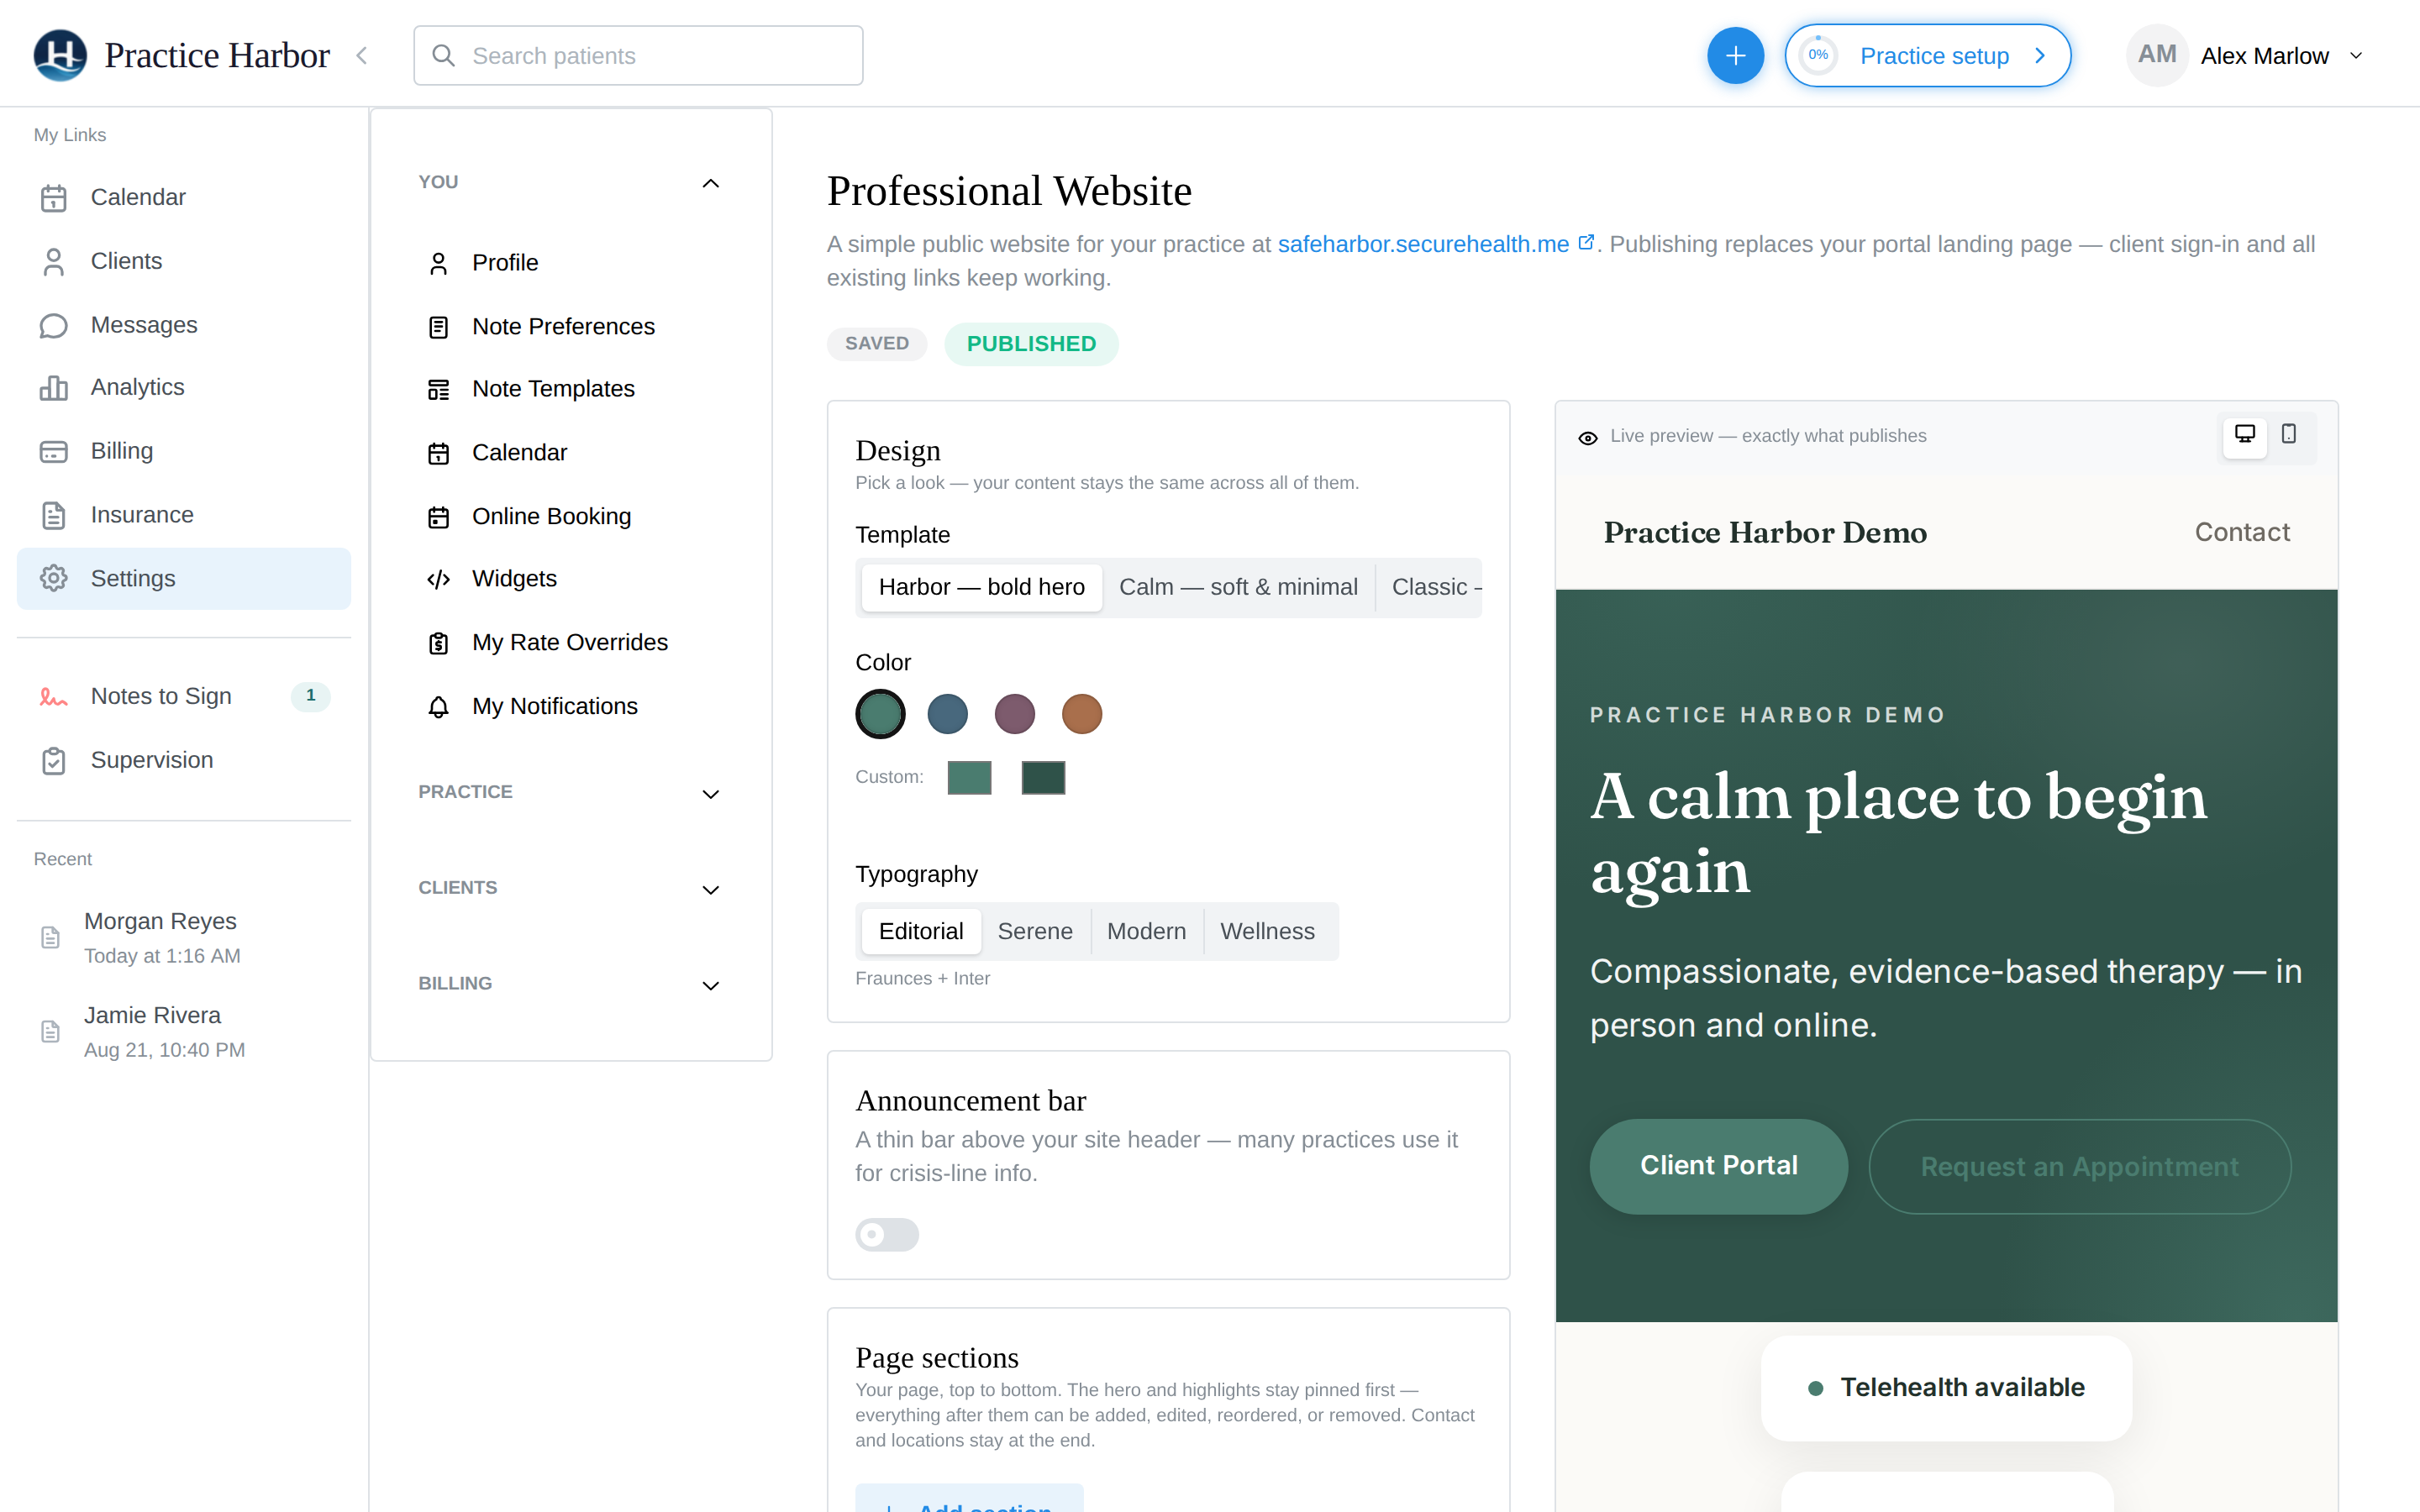
Pages you add can appear in the site's top menu (Show in top menu), and every section has a Show section switch, so you can draft something and keep it hidden until it's ready.
A few things that make arranging the page quicker:
- Drag a section by the grip at the left of its card to move it, or use the arrows.
- Click the small + between two cards to add a section right there instead of at the bottom.
- The arrow at the right of a card collapses it to one line, handy once the page is long.
- Undo and Redo at the bottom left take back any change, including a removed section, until you leave the page. Ctrl+Z (Cmd+Z on a Mac) does the same when you're not typing in a box.
- Removing a section asks you to confirm first.
Start from a layout
If you'd rather fill in a finished page than assemble one, click Start from a layout at the top of the Page sections card. The first time you open the website page, this chooser opens by itself.
Pick one of three complete pages:
- Solo practice: a photo hero, your About section, services, how to get started, a quote, fees and an FAQ.
- Group practice: adds a team section, a photo banner with a Request an Appointment button, and testimonials.
- Couples and relationships: a softer look with the photo beside the headline, built around relationship work.
Each comes with headings, placeholder text and stock photos already in place. Replace the words with your own, swap in your photos, and remove anything you don't need. Your contact details, locations, search-engine text and announcement bar are kept when you apply a layout; everything else on the page is replaced, and Undo brings the previous page back if you change your mind.
Photos
Every photo on the site, the hero, a text section, a banner or a team card, has two buttons: Upload for a file from your computer, and Choose from library. The library has two tabs:
- Stock photos: eleven calm nature and office images, free to use on your site. None show people, so there is nothing to credit or release. Filter by Wide (heroes and banners) or Tall (beside text, team cards).
- Your photos: everything already on your page. Pick your About headshot here to put it on your team card without uploading it twice.
After choosing a photo, click it in the small preview to set its focus point, the part that stays visible when the photo is cropped on a phone.
The Contact card at the bottom has an optional Your photo too: a round portrait shown above your phone number and the Request an Appointment button. It suits a solo practice whose hero is scenery rather than a picture of you; leave it empty and nothing shows.
The sections you can add
Mix and match building blocks on any page:
- Text blocks, with an optional photo you can place left of the text, right of the text, or wide above it (good for an office or room shot), Image blocks (an image with an overlay heading becomes a banner), and a Video block that embeds a YouTube or Vimeo link.
- FAQ — question-and-answer pairs, great for fees/insurance/first-visit questions.
- Fees — your services and rates, if you choose to list them.
- Quote — a highlighted passage with attribution.
- Chips — a tag row (specialties, populations served, modalities).
- Call to action — a labeled button linking wherever you point it.
- Social links and a Testimonials block.
Reorder blocks by dragging or with the Move up / Move down arrows; Duplicate copies a block you want to reuse.
Most behavioral-health ethics codes (including APA 5.05) prohibit soliciting testimonials from current clients. If you use the Testimonials block, stick to content you may ethically display under your license's rules — many practices use it for colleague endorsements or non-clinical praise instead.
Previewing and publishing
- Check the live preview beside the editor — it shows the site exactly as a visitor would see it, updates as you type, and switches between desktop and phone views. Clicking a card in the editor scrolls the preview to that section.
- Click Publish website (after the first publish, the button reads Publish changes).
Your site goes live at your practice address — the same
your-practice.securehealth.meaddress as your client portal, with portal sign-in reachable from the site's Client Portal button. - To take it down, click Turn off website — the plain portal landing page returns, and all your website content stays saved for later.
Two guard rails worth knowing:
- Publishing requires your practice's portal address (slug) to be set up first — that's the same setting that powers portal invitations (see Client portal).
- If your About section still contains the sample placeholder text, publishing asks you to confirm — so a half-finished draft doesn't slip out with lorem-ipsum prose.
The Good Faith Estimate notice
Federal law (the No Surprises Act) asks providers to display a notice on their website telling uninsured and self-pay clients about their right to a Good Faith Estimate. Every published site now has a short notice in its footer that links to the government's No Surprises Act page, so there's nothing to set up. It isn't editable.
The same rule also asks you to post the notice in your office if you have one, and to mention it when you schedule or discuss costs. To send a client their own estimate, see the Good Faith Estimate option on their chart.
The buttons on your site
The Contact card on the website page has a switch for each button. They appear at the top of the page and again in the Contact section at the bottom:
- Show Client Portal button: current clients sign in.
- Show Request Appointment button: new visitors open your booking page and request a time, which you accept or decline.
- Show Send a Message button: new visitors open your contact form and write to you without picking a time. Any prescreener questions you've put on the contact form appear there. Messages land in Inquiries.
An Image banner has the same three switches for its own buttons. When Request Appointment is off, Send a Message takes the solid style so it stands out as the main button.
Sites published before the Send a Message button existed keep exactly the buttons they had. Turn the switch on and click Publish changes to add it.
Taking messages instead of bookings
If you'd rather hear from new people before offering them a time:
- Go to Settings → Online Booking and turn off Accept Requests from New Clients.
- Go to Settings → Prescreener and turn on Contact form, so your questions are part of the message.
- Go to Settings → Website. In the Contact card, turn on Show Send a Message button and turn off Show Request Appointment button.
- Click Publish changes.
Anyone who still reaches your booking page, from an old link or a bookmark, sees that you aren't taking online requests right now, with a Send a Message button to your contact form.
FAQ
Does publishing change anything for clients who already use the portal? No — signing in works exactly as before. The website simply becomes what visitors see before they sign in, with the Client Portal button taking clients to their usual sign-in.
Can prospective clients book from the site? Yes — show the Request Appointment button and it drives your online booking flow, subject to the same availability and new-client settings.
Can visitors message me instead of booking? Yes — turn on Show Send a Message button. See Taking messages instead of bookings.
Can I use my own domain?
The site publishes at your securehealth.me practice address. If you own a domain, most
registrars let you forward it to that address.
Do I need to keep a separate website? Only if you want one. Many solo practices find this covers everything a first-visit visitor needs: who you are, what you treat, fees, and the two buttons that matter — book and sign in.