Billing overview
Practice Harbor includes a full billing system for managing client payments, invoices, superbills, insurance claims, and payment processing via Stripe. This guide walks through each area so you know where to find what you need.
In this guide, we'll cover:
- Accessing billing
- Billing dashboard
- Insurance hub
- Per-client billing
- Appointment billing
- Billing settings
- Exporting data
- Related docs
Accessing billing
- In the left sidebar, click Billing (credit card icon) to open the Billing Dashboard.
- If your practice has insurance billing enabled, you will also see an Insurance link directly below Billing in the sidebar.
The Billing and Insurance nav items only appear if your account has billing access enabled. If you do not see them, contact your practice administrator.
Billing dashboard
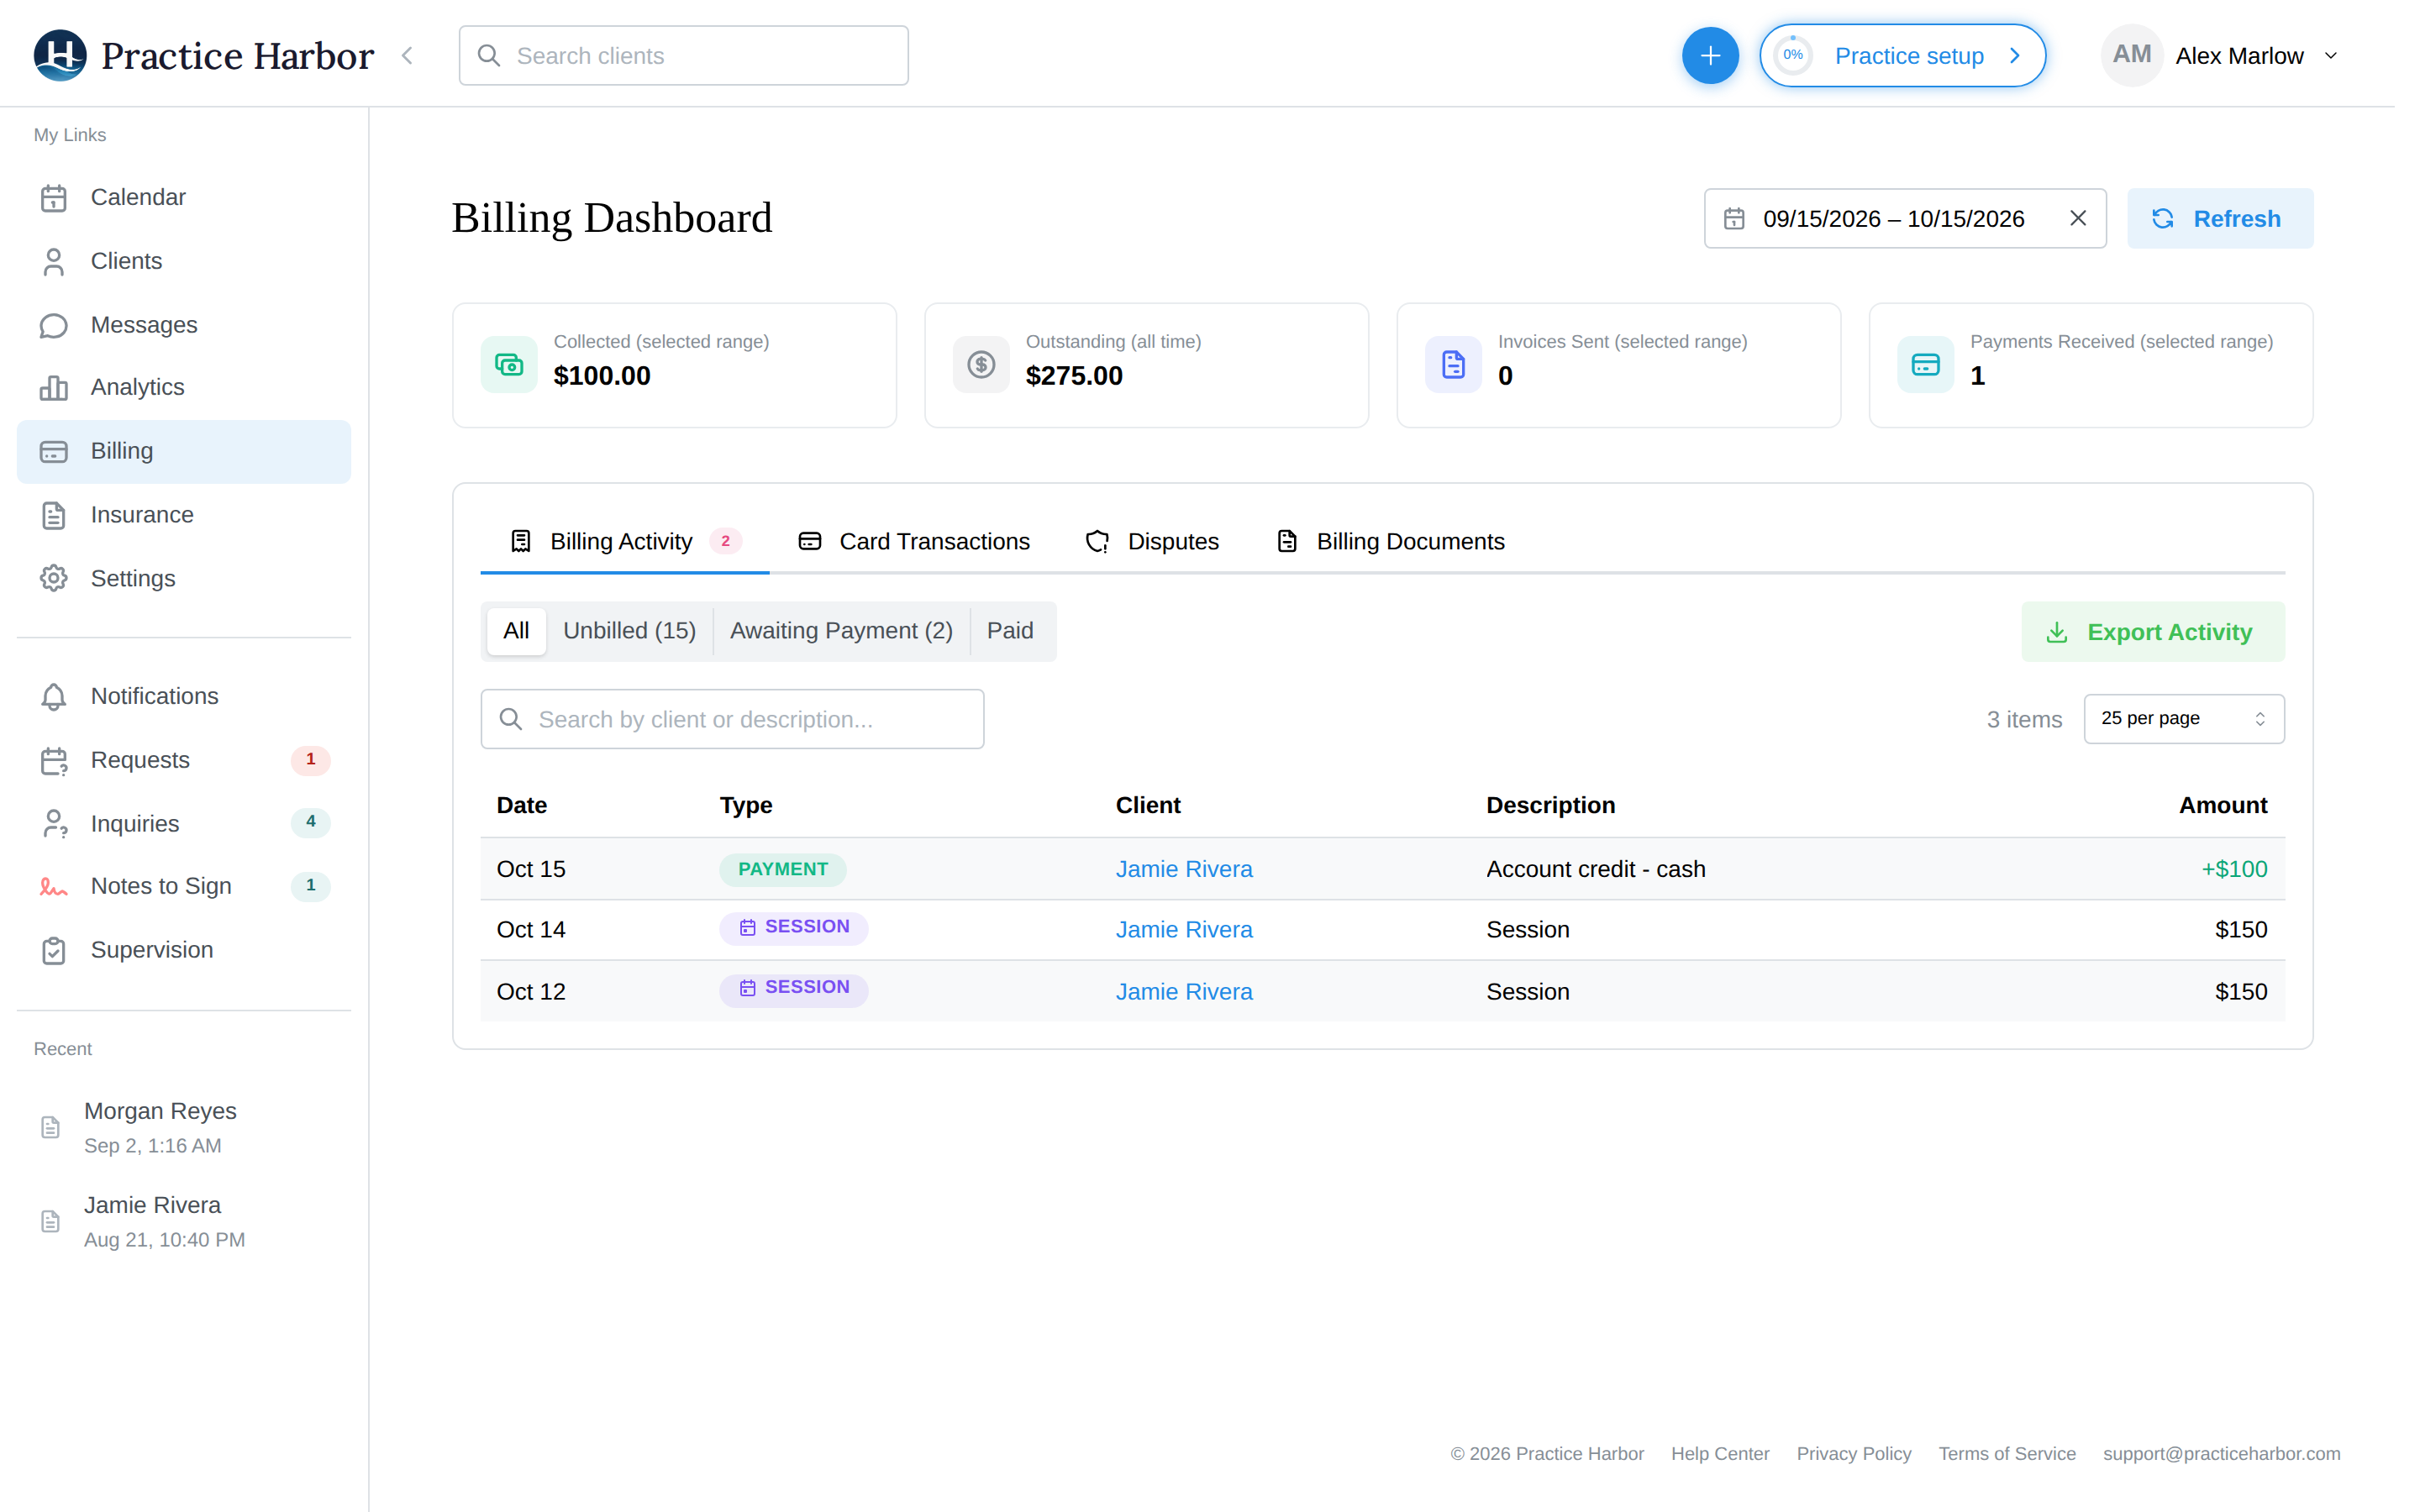
The Billing Dashboard (/billing) is your central hub for all payment activity. It opens with a date range picker (defaulting to the last 30 days) and a Refresh button in the top-right corner.
Outstanding
The dashboard opens with an Outstanding card: what needs doing, one row each, with the count, how many clients it covers and the money involved. Click a row to open the list it counts.
- Appointments ready to file — insurance sessions with no claim yet that pass the claim checks. Opens Insurance → Unbilled Appointments filtered to Ready to file.
- Unpaid invoices — invoices your clients still owe on. Opens the Awaiting Payment view below.
- Appointments with missing info — insurance sessions a claim can't be built for yet (a missing member ID, date of birth, address, NPI, and so on). Opens Unbilled Appointments filtered to Missing info, where each row says what's missing and Update info takes you to the client.
- Claims with action required — rejected, denied or info-requested claims that have not been written off, and deductible claims not yet settled. Opens Insurance → Claims filtered to Needs attention.
A row with nothing to show is left out. The three insurance rows appear only for team members who can open the Insurance hub. These are standing work queues, so they count everything open, not just the selected date range.
Summary cards
Below it, four summary cards give you a quick snapshot:
| Card | What It Shows |
|---|---|
| Collected (selected range) | Total payments received in the selected period |
| Outstanding (all time) | Total unpaid balance across all clients |
| Invoices Sent | Number of invoices issued in the period |
| Payments Received | Count of payments received in the period |
Dashboard tabs
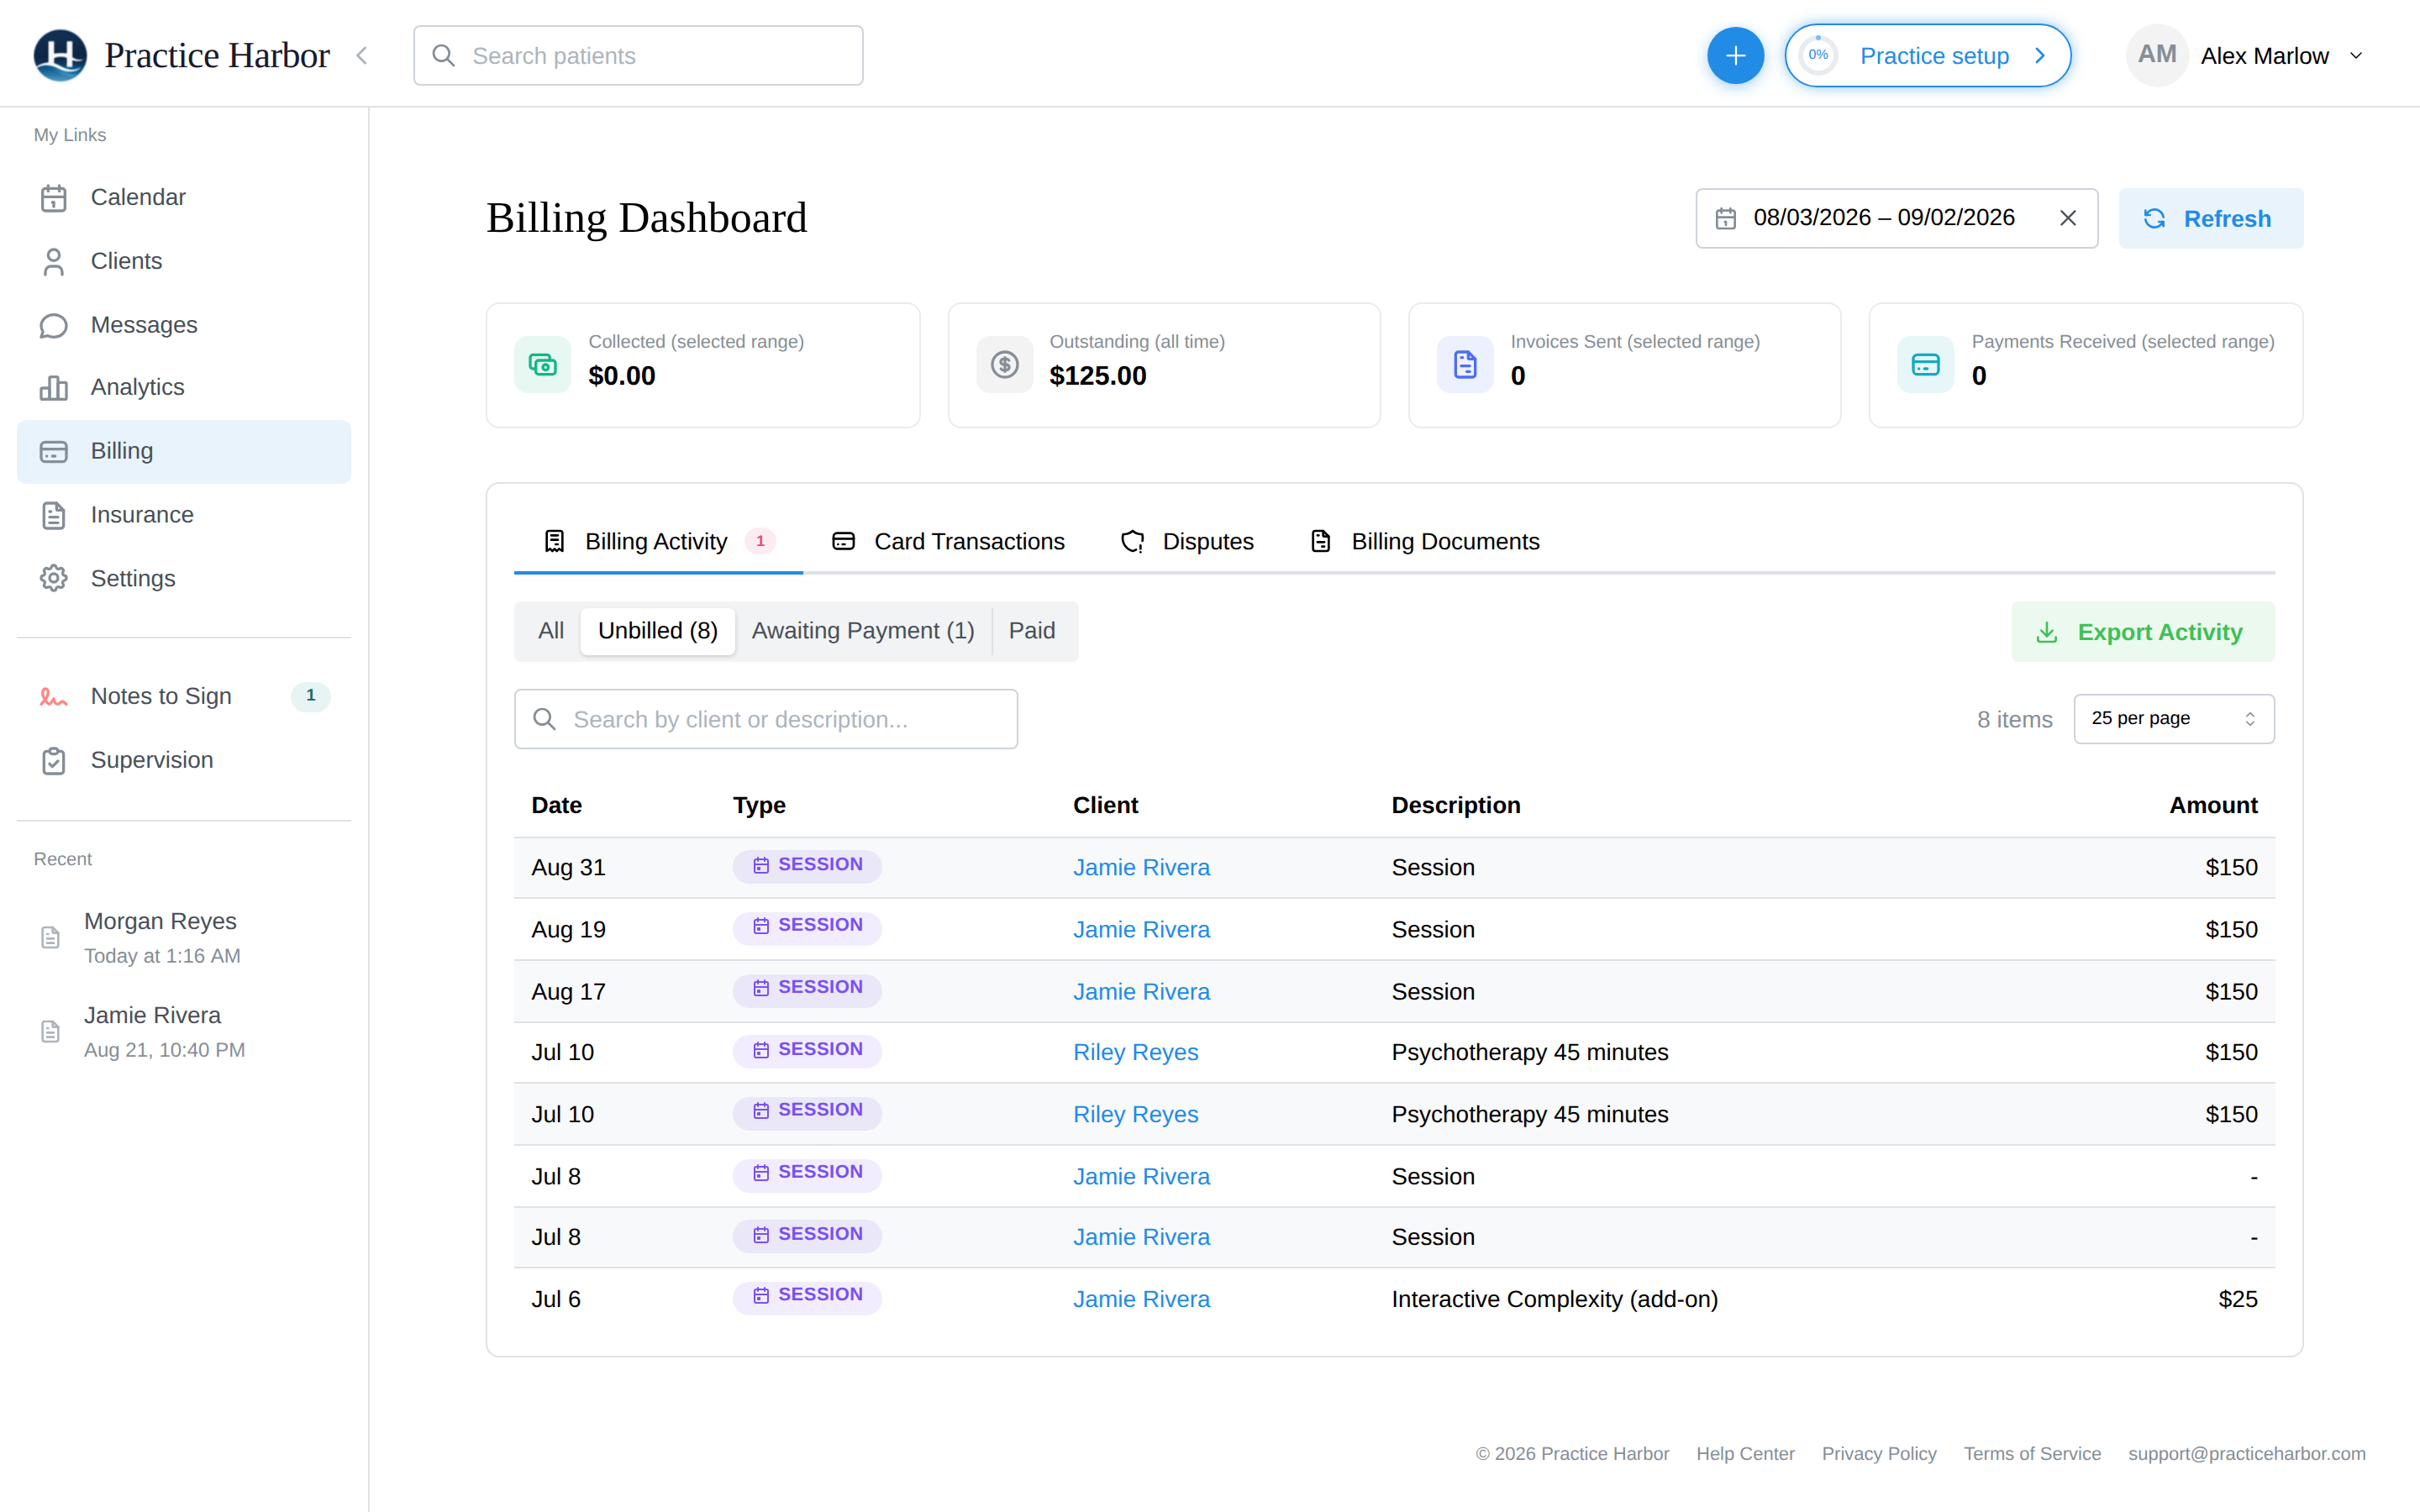
Below the summary cards, four tabs organize your billing workflow. The payment-processing tabs — Card Transactions and Disputes — appear only for team members with billing access (owners, practice managers, and billers); clinicians see Billing Activity and Billing Documents.
1. Billing Activity
The default tab. Use the segmented filter at the top to narrow the view:
- All — Every session, invoice, and payment in the date range. A session row shows the session fee; what the client has paid and whether insurance has been billed are on the client's Billing tab and in the Insurance hub
- Unbilled — Sessions that have occurred but haven't been invoiced yet (the count shows on the filter label). A session becomes billable as soon as it has happened — you don't have to mark it "Show" first
- Awaiting Payment — Invoices that have been issued but not yet paid (count on the label)
- Paid — Invoices marked as balanced and successful payments
Click Export Activity to download the currently filtered data as a CSV file.
2. Card Transactions
View all Stripe card transactions including charge amounts, processing fees, and net amounts. You can:
- Search and filter transactions
- Issue refunds for individual charges
- Click Export Transactions to download as CSV
3. Disputes
Track Stripe payment disputes (chargebacks). Items needing a response show a red badge on the tab. From here you can:
- Submit evidence for a dispute
- Accept a dispute
- View dispute status and history
Respond to disputes promptly — Stripe enforces deadlines for evidence submission.
4. Billing Documents
Track invoices, superbills, and statements that have been sent to clients. This tab shows delivery method (email or portal link), delivery status, and allows resending documents.
Insurance hub
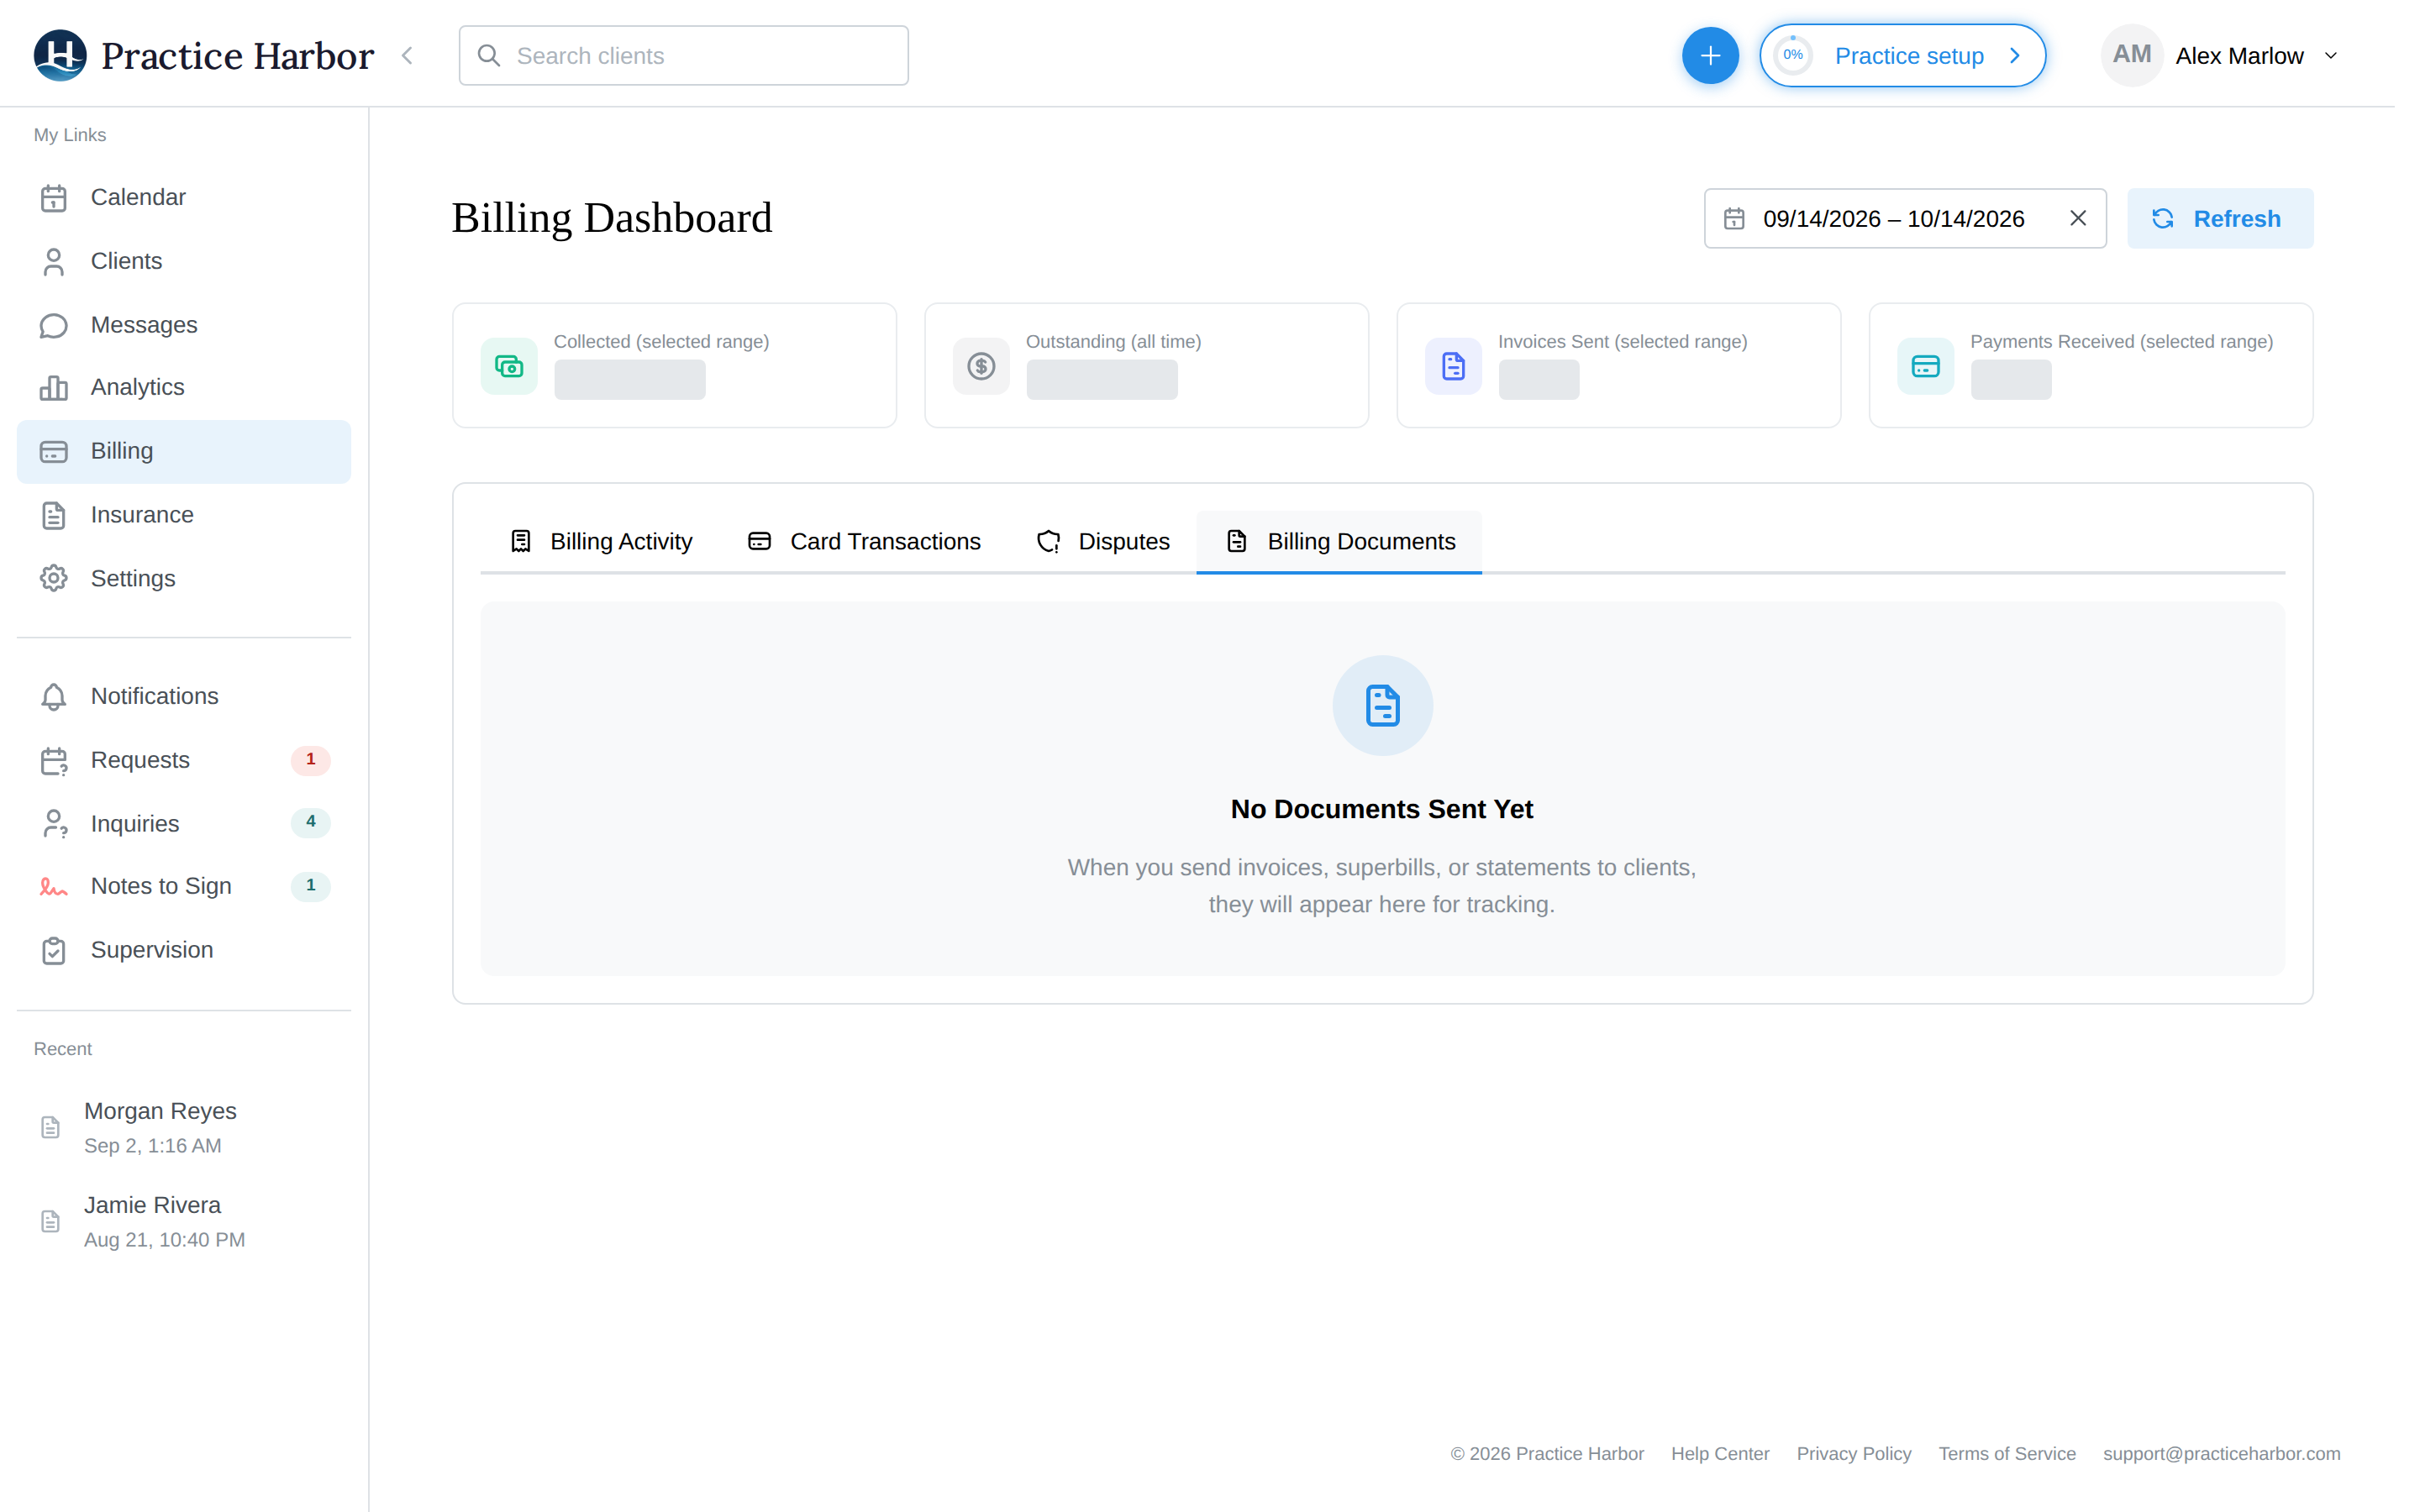
If insurance billing is enabled for your practice, the Insurance page (/insurance) provides a dedicated workspace with three tabs:
- Unbilled Appointments — Encounters ready for claim submission
- Claims — Submitted claims with real-time status tracking
- Payments — ERA/payment reconciliation for insurance reimbursements
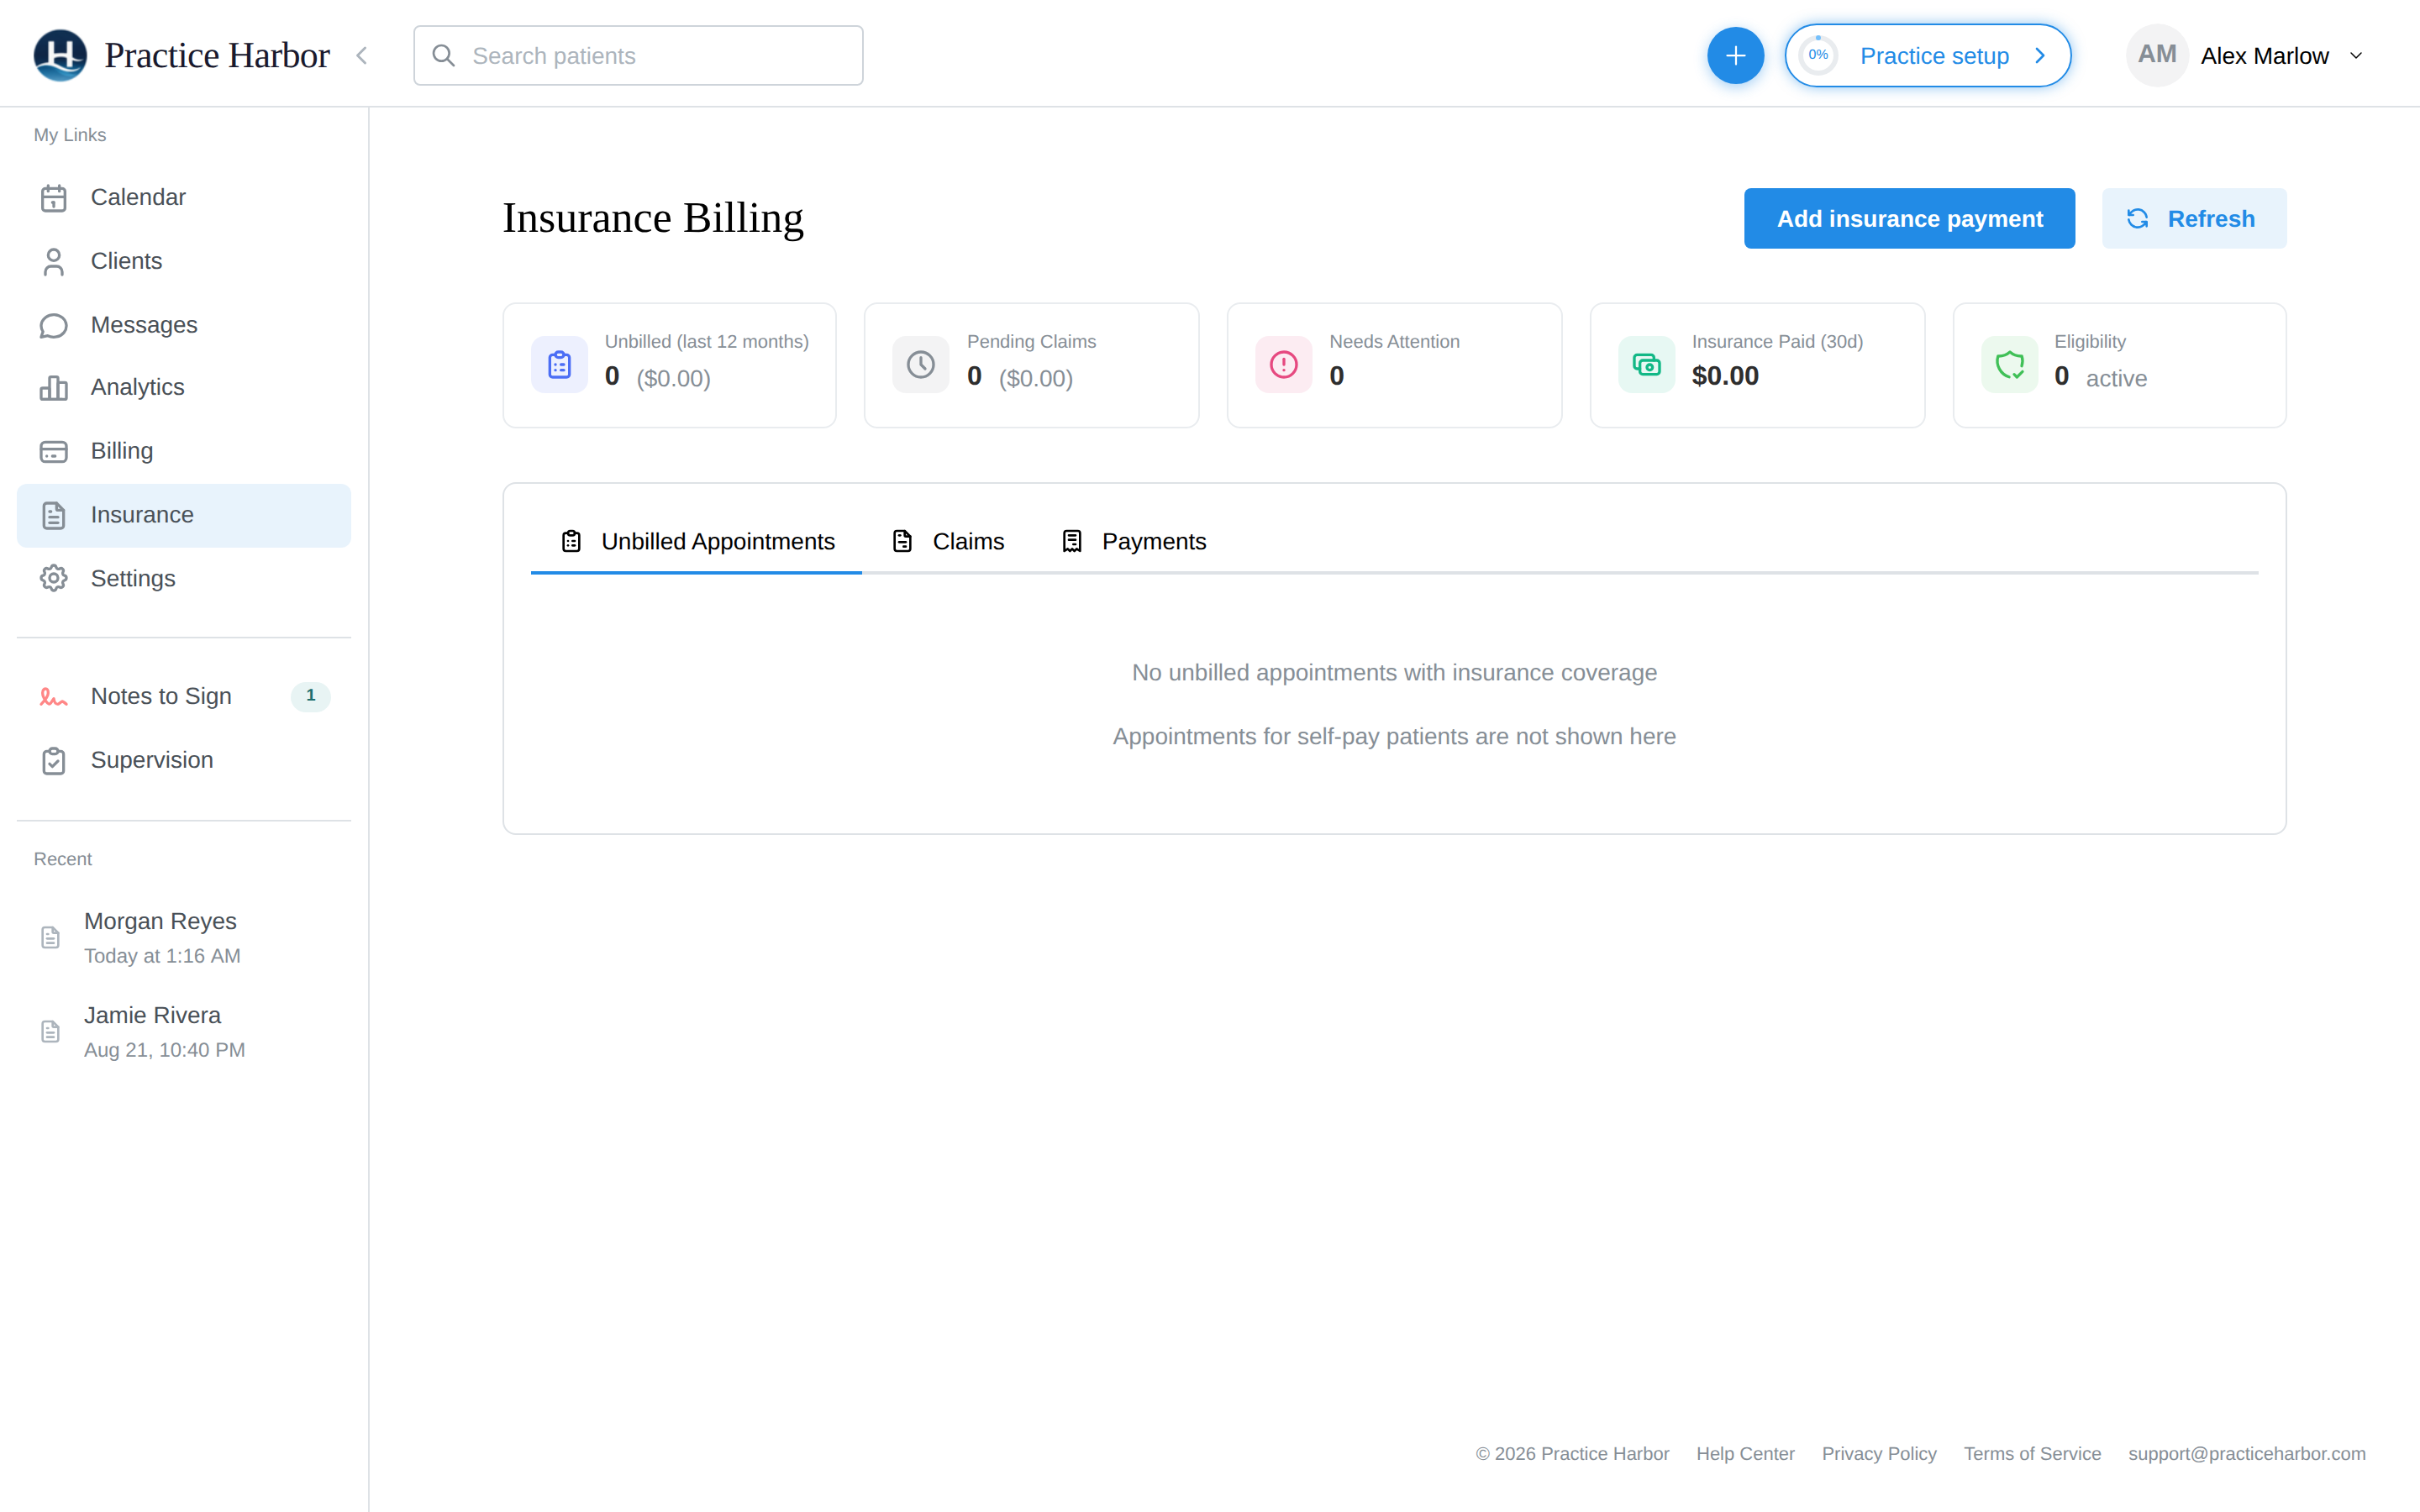
The Insurance link only appears in the sidebar when insurance billing is turned on for your practice. See Insurance & Superbills settings to enable it.
Per-client billing
Each client has two billing views.
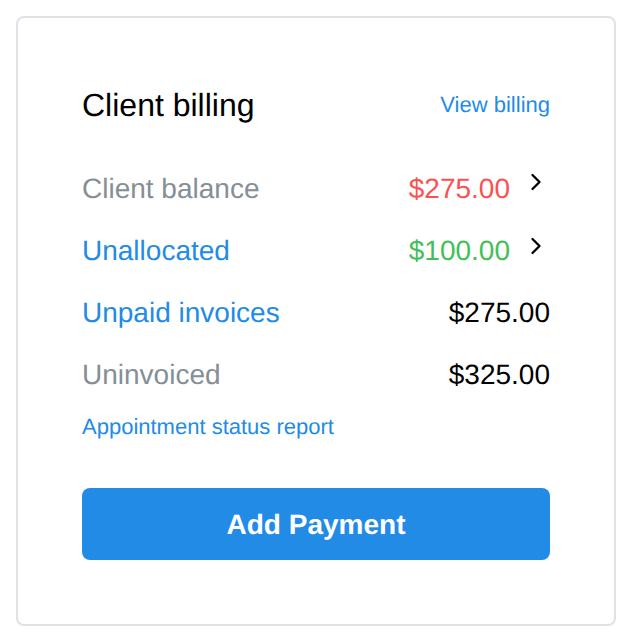
The Client billing card on the client's Dashboard tab sums up their account: Client balance, Unallocated credit, Unpaid invoices, and Uninvoiced sessions, with an Add Payment button. View billing opens the client's Billing tab — every session with its fee, invoice status, and a Manage menu, plus the Generate Statement, Add Payment, New Invoice, and Create Superbill buttons.
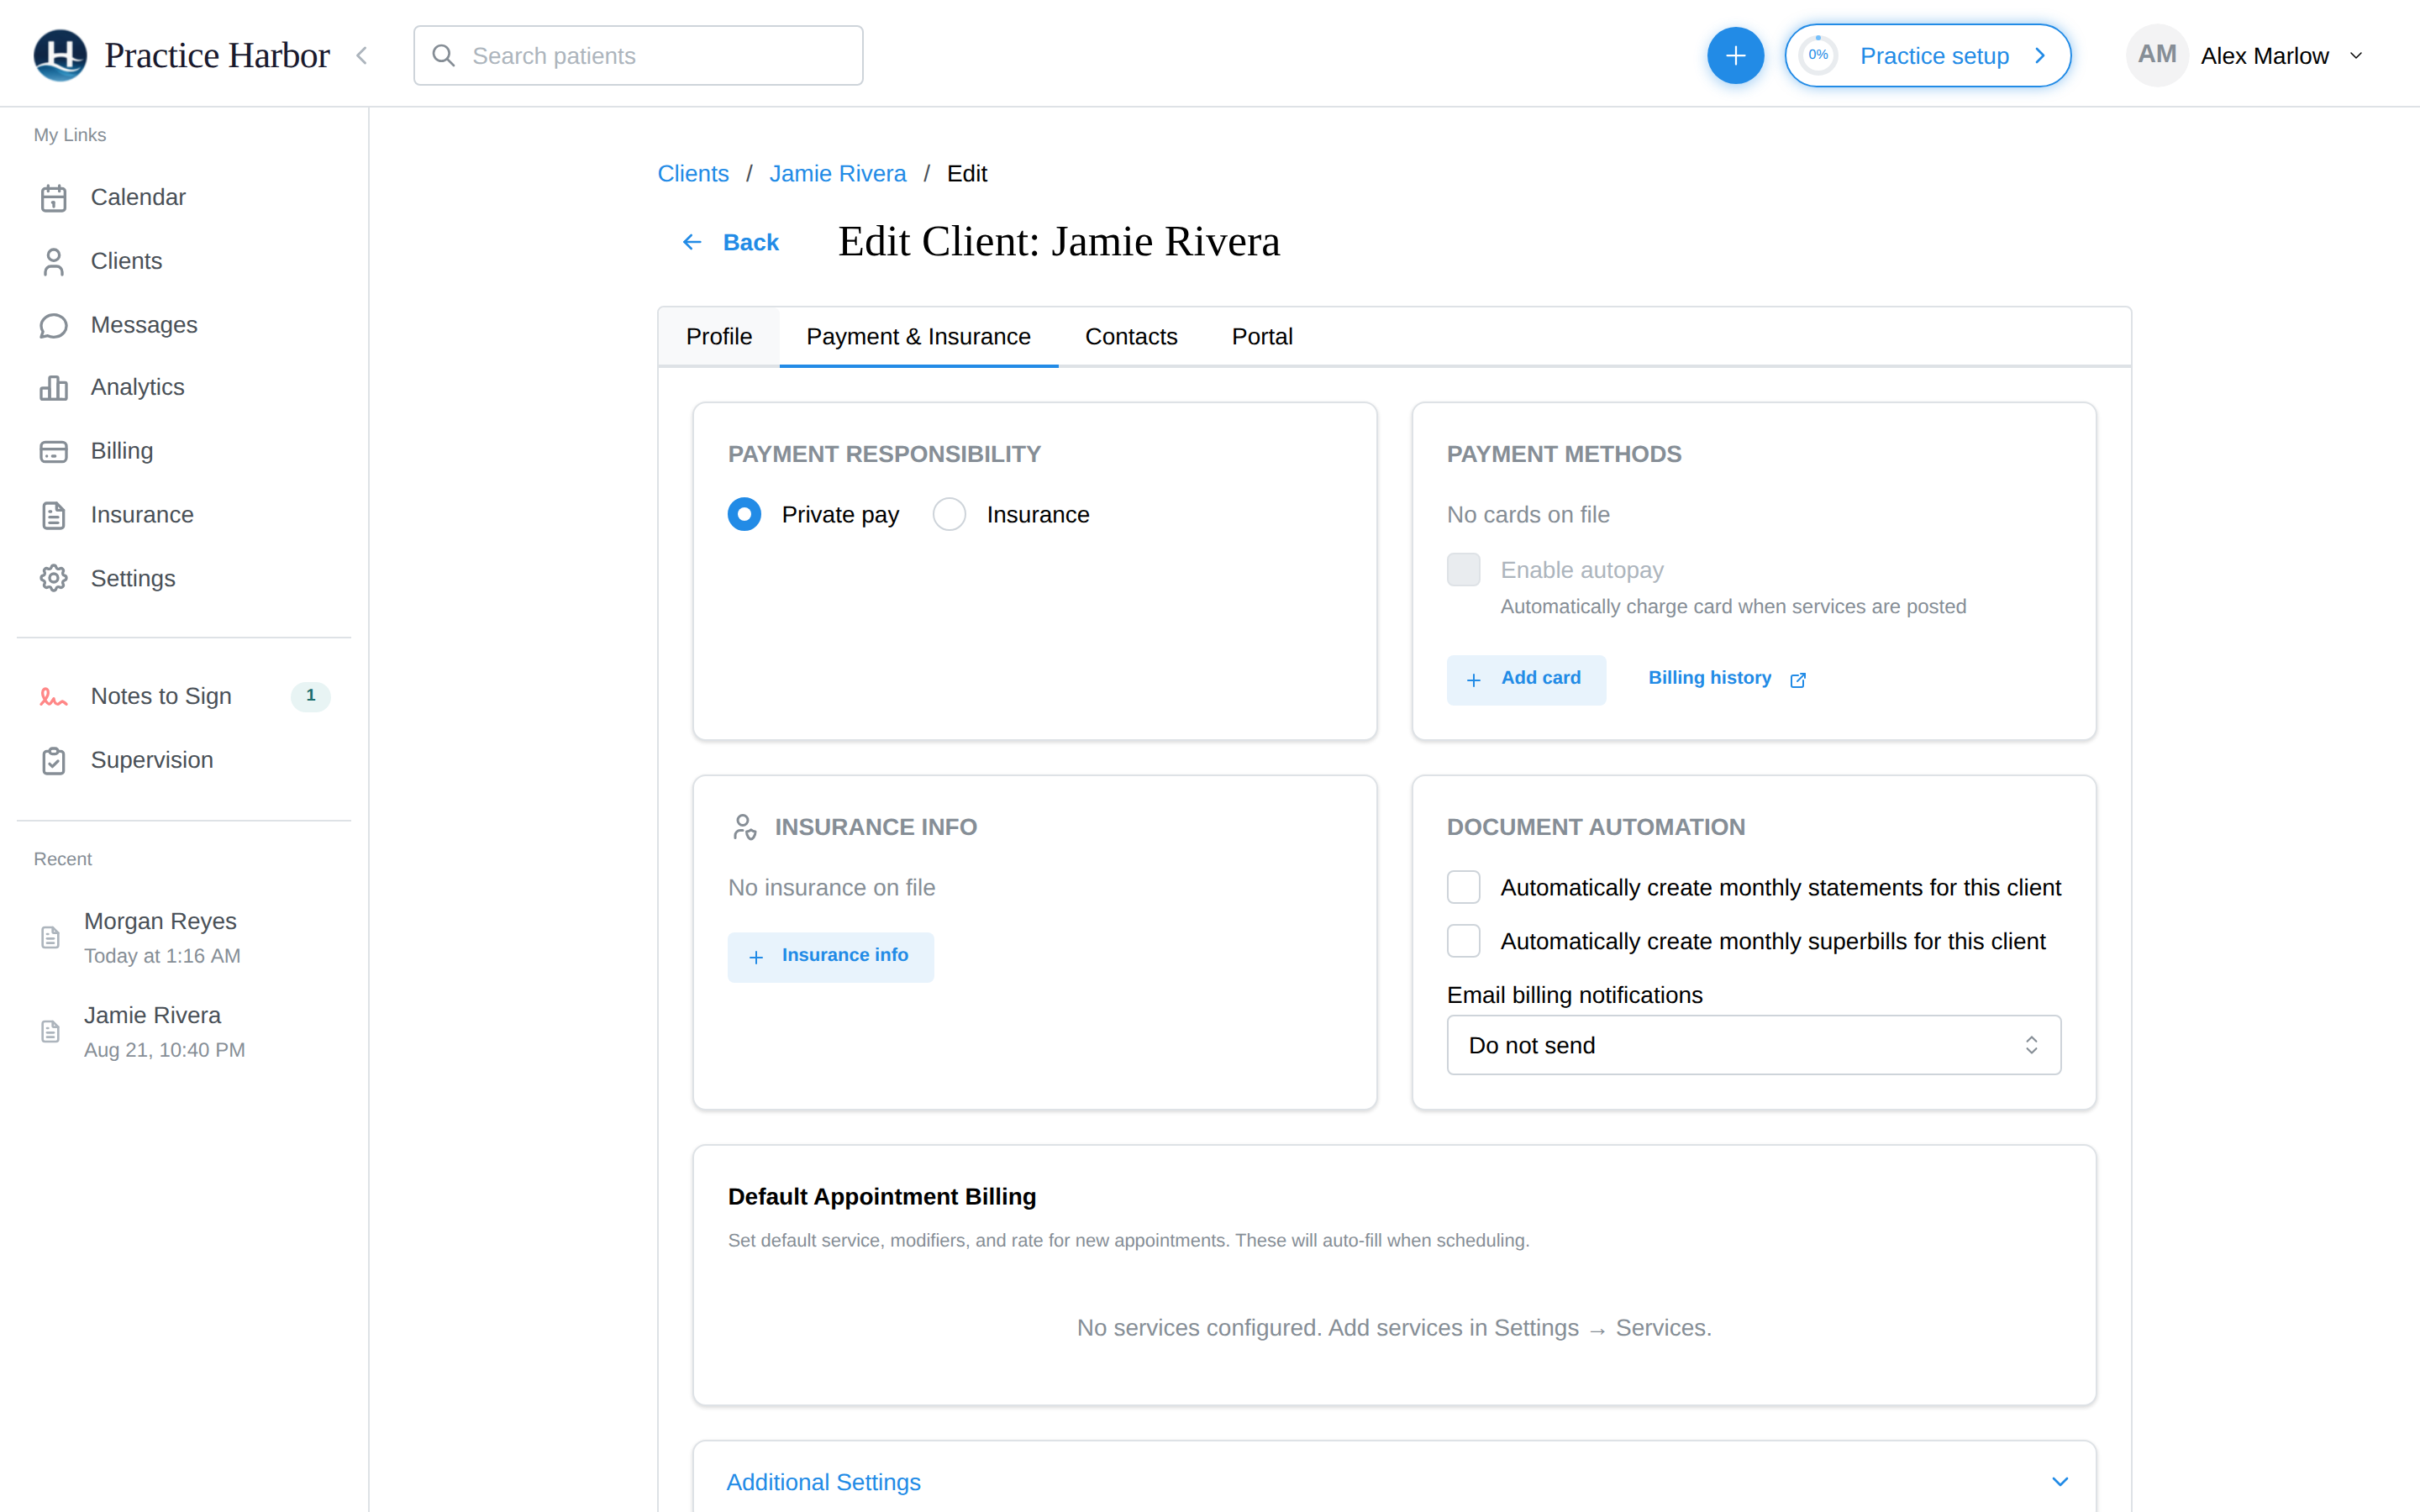
The Payment & Insurance tab holds the client's billing setup:
- Payment responsibility — Private pay vs. insurance
- Payment methods — Saved cards via Stripe
- AutoPay enrollment — Automatically charge the client's card after sessions
- Insurance coverage — Add and manage insurance payers, policy numbers, and eligibility
- Document automation — Configure automatic generation of statements and superbills
- Custom service rates — Override the default fee schedule for a specific client
To open it, click the pencil next to the client's name, then the Payment & Insurance tab.
Appointment billing
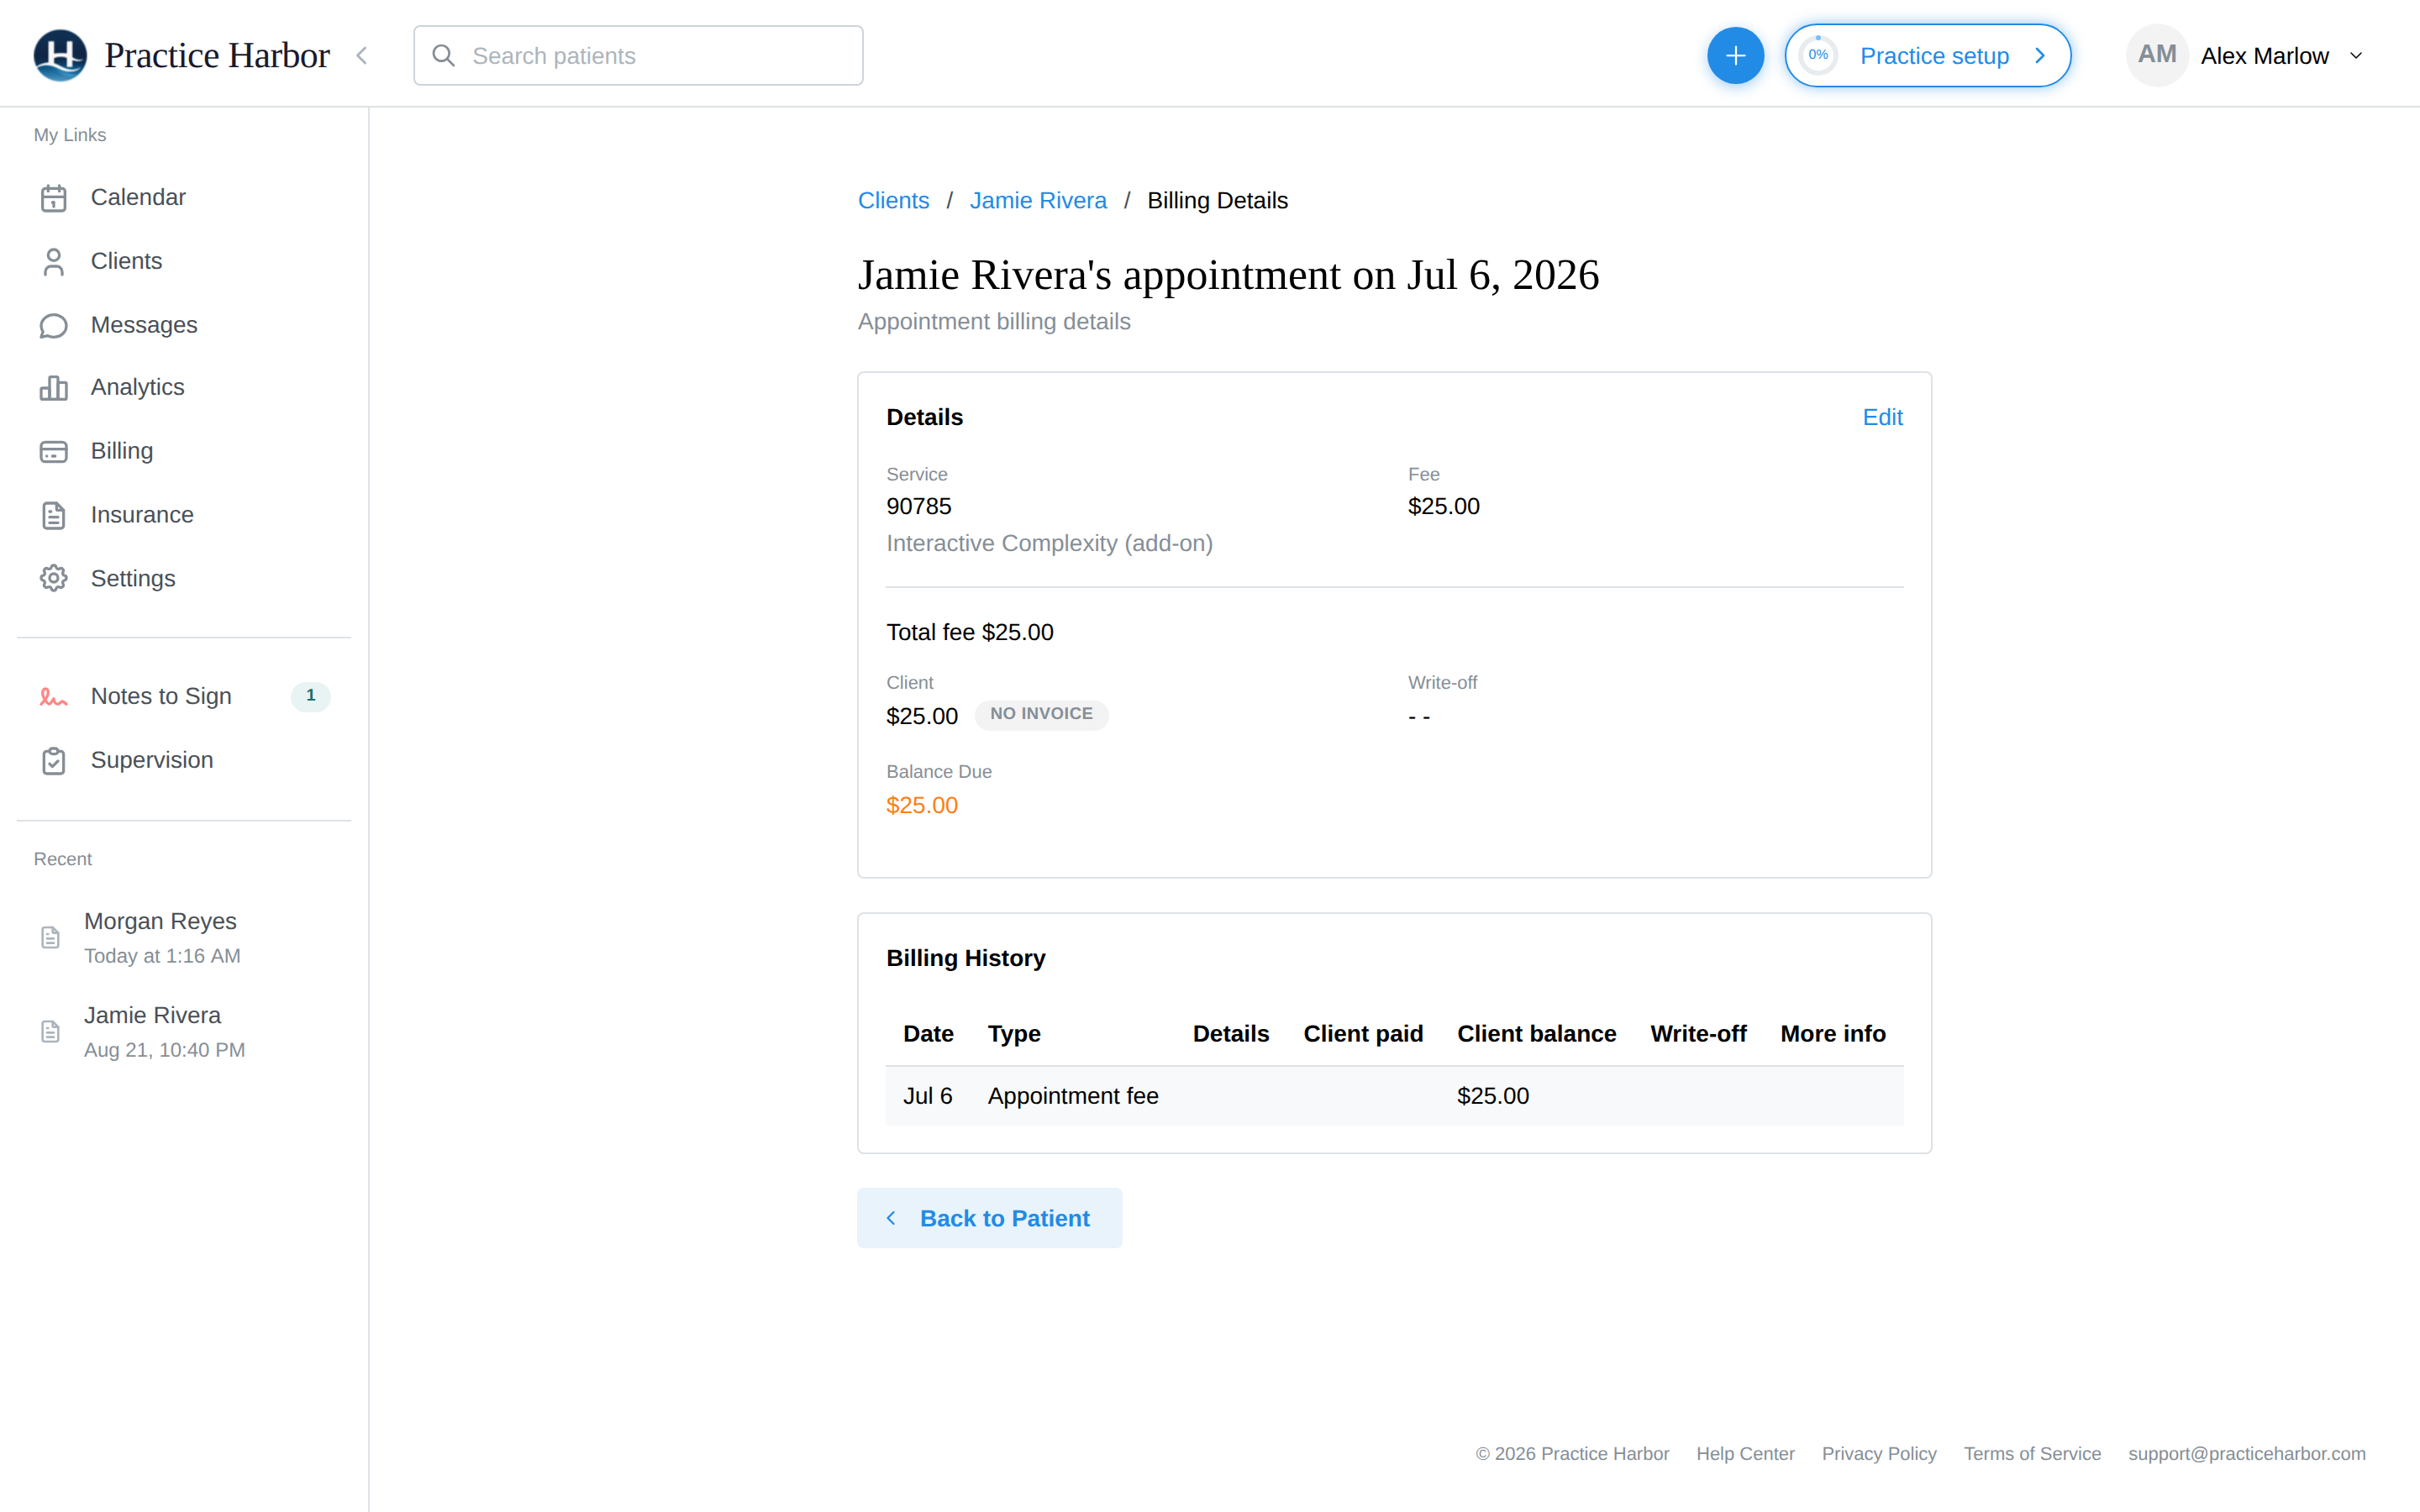
For a detailed view of a specific session's billing, open the client's Billing tab, click Manage on the session's row, and choose View Details. The Appointment Billing page (/Patient/:patientId/billing/:encounterId) shows:
- Service codes and fees for the session
- Invoice status and payment history
- Insurance claim details (if applicable), including adjudication amounts
- Options to edit billable items and generate/preview invoice PDFs
Billing settings
Billing configuration lives under Settings in the left sidebar. Open Settings and expand the Billing section in the sidebar accordion to find:
| Setting | Path | Description |
|---|---|---|
| Fee Schedule | Settings > Billing > Fee Schedule | Add, edit, and remove CPT/service codes and their rates |
| Products | Settings > Billing > Products | Manage non-appointment items you charge to clients |
| Invoicing | Settings > Billing > Invoicing | Configure invoice automations and defaults |
| Insurance & Superbills | Settings > Billing > Insurance & Superbills | Set up superbill preferences and insurance billing defaults |
| Payments | Settings > Billing > Payments | Connect and manage your Stripe payment processing account |
| AutoPay | Settings > Billing > AutoPay | Enable or disable automatic payment collection |
| Payer Enrollment | Settings > Billing > Payer Enrollment | Manage insurance payer enrollments for electronic claims (shown once insurance billing is turned on) |
Under the You section of Settings, you can also find My Rate Overrides to set clinician-specific rate adjustments that differ from the practice-wide fee schedule.
Exporting data
The Billing Dashboard supports CSV exports for three data types:
- Billing Activity — Sessions, invoices, and payments with dates, amounts, and statuses
- Card Transactions — Stripe charges with fees and net amounts
- Payout history from Stripe appears within the Card Transactions tab
To export, click the Export Activity or Export Transactions button on the relevant tab. An Export Data dialog confirms the export, and the CSV downloads automatically.
Exports cover the currently selected date range. Adjust the date picker at the top of the dashboard before exporting to control the time window.
Related docs
- Invoices — Creating and sending invoices
- Superbills — Generating superbills for insurance reimbursement
- AutoPay — Setting up automatic payments
- Collecting Payments — Charging cards, recording payments
- Subscription Plans — Practice Harbor pricing tiers